Dog Care
How to Fit a Dog Collar Safely and Comfortably
Quick answer
A step-by-step guide to measuring and fitting a flat dog collar, checking comfort and escape risk, and knowing when a harness is safer.
By ShineePets Editorial Team · Published · Updated
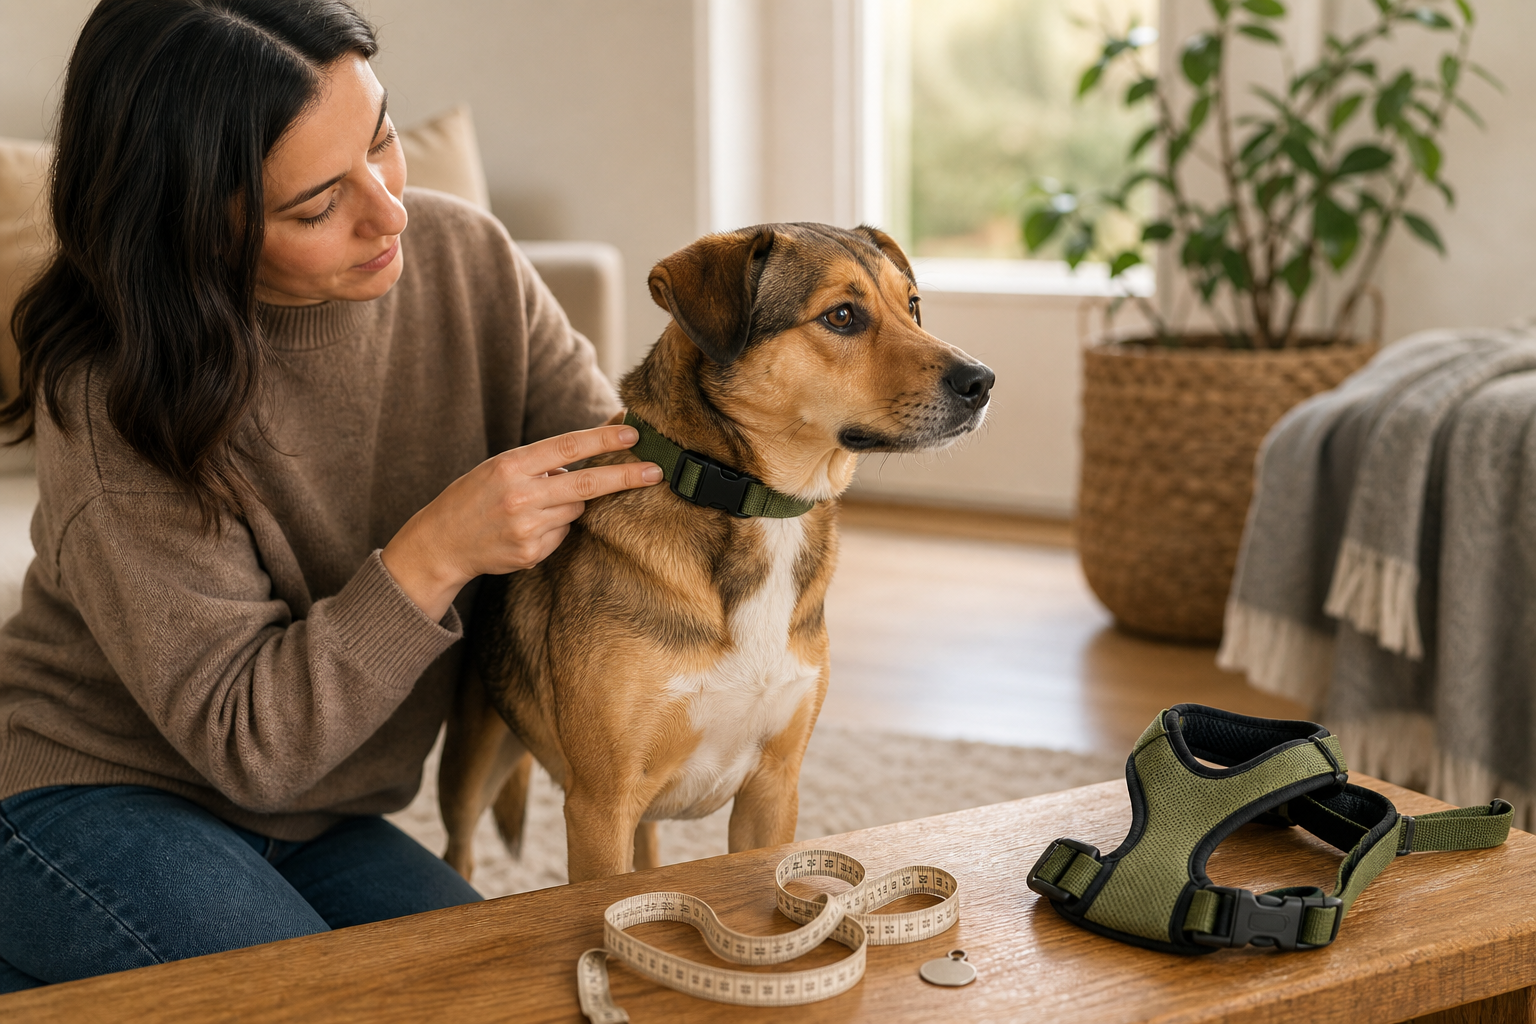
A dog collar can carry identification, provide a backup point for handling and, for some dogs, connect safely to a leash. The same collar can become uncomfortable, easy to escape from or vulnerable to snagging when its size, position or hardware is wrong.
Quick recommendation: Measure the dog's neck with a soft tape, adjust a flat collar so two fingers fit comfortably underneath, and then confirm that the collar cannot slide over the head. Recheck the skin, breathing, movement and fit regularly rather than relying on the original size label.
The familiar two-finger rule is a starting point, not the complete test. Finger size, dog size, coat thickness, neck shape and collar width all affect the result. A safe fit must be comfortable while the dog rests and moves, yet secure enough to prevent escape.
This guide covers everyday flat collars. Martingales, head halters, medical collars and specialized working equipment require their own fitting instructions. Ask a veterinarian or qualified reward-based trainer when a dog has respiratory disease, neck pain, unusual anatomy, repeated escapes or strong leash pulling.
Decide What the Collar Needs to Do
A simple flat collar is often useful for:
- Holding lightweight identification.
- Providing a familiar handling point.
- Serving as a backup connection in a carefully designed walking system.
- Helping reunite a lost dog with an owner, alongside a registered microchip.
A collar should not be used to create pain, stop breathing or force behavior through fear. The American Veterinary Society of Animal Behavior recommends reward-based training and advises against aversive tools such as choke chains, prong collars and electronic shock collars.
If the dog pulls hard, a neck collar transfers force to delicate structures. VCA and AAHA note that a well-fitted body harness can reduce pressure on the neck and throat. The best walking setup depends on the dog's body, health, behavior and escape risk.
Choose a Comfortable Flat Collar
Start with a collar designed for the dog's size and normal daily use. Check the complete construction rather than choosing by color or appearance.
A practical collar should have:
- A smooth inner surface without sharp stitching or rough edges.
- Enough width to distribute light pressure without restricting head movement.
- An adjustment range that places the final fit away from either extreme.
- A buckle that closes fully and cannot release during ordinary movement.
- A secure metal ring appropriate for the intended attachment.
- Lightweight identification that does not interfere with the buckle.
- Cleaning instructions suitable for the material.
Very narrow straps can concentrate pressure. Very wide or rigid collars can interfere with movement, particularly on small dogs or dogs with short necks. Long-coated dogs need a collar that can be checked at skin level without trapping or pulling hair.
Inspect new hardware before fitting. Reject cracked plastic, bent rings, loose rivets, rough webbing, sharp tag edges and buckles that close only partially.
Measure the Neck Before Choosing a Size
Do not estimate from breed, age or body weight alone. Two dogs of the same breed can have different neck shapes, coats and head-to-neck proportions.
Use a flexible cloth measuring tape:
1. Ask the dog to stand or sit in a relaxed, natural position.
2. Place the tape where a flat collar will normally rest around the neck.
3. Keep the tape flat against the coat without compressing skin or pulling fur.
4. Note the close neck measurement.
5. Add the manufacturer's recommended allowance and compare it with the product's actual adjustment range.
6. Choose a size that puts the measurement near the middle of the range when possible.
If a soft tape is unavailable, use a non-stretch cord, mark the overlap and measure the cord against a ruler. Do not use a retractable tape with a sharp metal edge against the dog's neck.
For a thick double coat, measure at the skin level while preserving the natural coat. After seasonal shedding or professional grooming, repeat the measurement because the same notch may no longer provide the same fit.
Fit the Collar in Five Steps
1. Introduce it calmly
Let the dog see and smell the collar in a quiet room. Pair brief handling around the neck with treats, praise or another reward the dog values. Do not chase, pin or force a worried dog.
2. Place it flat around the neck
Fasten the collar around its natural resting position. Make sure the strap is not twisted and hair is not trapped in the buckle. The D-ring and tag should hang freely without pressing into the skin.
3. Set the initial two-finger gap
Slide two fingers flat between the collar and the dog's neck. They should fit comfortably without forcing, and the collar should not leave a deep indentation when the fingers are removed.
On a very small dog, two large adult fingers may create too much space. On a giant dog, two small fingers may not describe comfort well. Use the rule together with direct observation and the manufacturer's guidance.
4. Perform a careful escape check
Move the collar gently toward the widest part of the head. It should not slip easily over the ears and off the head. Do not pull hard or turn this into a restraint test.
Dogs with narrow heads, such as some sighthounds, may slip a standard flat collar even when it feels comfortable. A properly fitted limited-slip collar or escape-resistant harness may be appropriate, but it should be selected and fitted with professional guidance.
5. Watch the dog move and breathe
Observe walking, sitting, lying down, eating and turning the head. The dog should breathe normally and move the neck freely. The collar should not migrate over the jaw, catch an ear or rotate so loosely that a leg can pass through it.
Fit test: Comfort and security must be true at the same time. A collar is not correctly fitted if it passes the two-finger check but can still slide over the head, or if it prevents escape only by pressing tightly on the throat.
Signs the Collar Is Too Tight
Stop and loosen or remove the collar if it causes:
- Coughing, gagging, noisy breathing or repeated swallowing.
- Skin indentation that does not quickly resolve.
- Redness, hair loss, sores, dampness or a strong odor under the strap.
- Reluctance to lower, raise or turn the head.
- Pawing at the neck or persistent scratching.
- Sudden avoidance when the collar is presented.
- Pressure from the buckle, tag or adjustment slider on one spot.
Breathing difficulty, blue or pale gums, collapse, significant swelling or acute distress requires immediate veterinary care. Persistent coughing, neck pain, wounds or behavior change also needs veterinary assessment rather than repeated home adjustment.
Signs the Collar Is Too Loose
A loose collar can create a different set of risks:
- It slides over the dog's ears with little resistance.
- The lower jaw can enter the gap.
- A front leg can pass through the collar.
- The tag, buckle or ring rotates far around the neck.
- The collar catches on furniture, crate wire, branches or another dog's jaw.
- The dog backs out when leash pressure changes direction.
Do not solve looseness by adding makeshift knots, zip ties or extra holes that weaken the strap. Use the correct size or a design intended for the dog's anatomy.
Recheck Growing Puppies Frequently
A puppy can outgrow a collar quickly. Check the fit at least every few days during rapid growth and before every outing if the collar is near the end of its range. Never assume that last week's setting remains comfortable.
Recheck any dog after:
- Weight gain or weight loss.
- Coat clipping, mat removal or seasonal shedding.
- A change in medication that affects swelling or body condition.
- A new buckle, tag, tracker or collar accessory.
- Washing and drying the collar.
- Extended time without wearing it.
Senior dogs may develop thinner skin, reduced muscle, masses or neck sensitivity. Handle gently and ask a veterinarian to examine new swelling, pain or asymmetry.
Inspect the Skin and Coat Underneath
A collar can hide early irritation. At least once daily, run fingers around the entire contact area and part the coat in several places.
Look and feel for:
- Red or darkened skin.
- Broken hair or thinning patches.
- Moisture trapped beneath the strap.
- Scabs, odor, discharge or tenderness.
- Fleas, ticks, mats or debris.
- A buckle edge rubbing one point.
Remove the collar in a secure indoor area while checking. Clean and fully dry both the dog's coat and the collar before refitting. If irritation persists, stop using the item and consult a veterinarian.
Collar or Harness for Walking?
A collar and harness can have different jobs. A flat collar may carry identification while a well-fitted harness manages leash force across the body.
A harness deserves consideration when a dog:
- Pulls hard or repeatedly reaches the end of the leash.
- Has neck pain, cervical disease or a history of throat injury.
- Has tracheal disease or is a small breed at risk from throat pressure.
- Is brachycephalic and may have compromised breathing.
- Needs a secure multi-point system because of escape risk.
The harness must also fit correctly. It should not rub behind the elbows, cross directly over shoulder joints, restrict the front legs or permit the dog to reverse out. VCA notes that equipment should be introduced gradually and supervised.
A harness does not teach loose-leash walking by itself. Use reward-based training to build calm walking skills and avoid snapping or jerking the leash.
Understand Breakaway and Martingale Designs
Breakaway collars
A breakaway buckle releases under pressure to reduce entanglement risk. It may be useful in selected supervised or home situations, but a leash connected to the breakaway section can release unexpectedly.
Some designs include separate rings that create a non-breakaway walking connection when both are clipped correctly. Follow that specific manufacturer's instructions. Never assume every safety buckle is designed for leash attachment.
Martingale or limited-slip collars
A martingale tightens only within a limited range and can help some narrow-headed dogs avoid backing out. It must be adjusted so that the tightest position does not choke or cause pain.
VCA advises supervising dogs wearing martingales because the sliding loop can become entangled or catch the jaw. Do not use one as a punishment tool, tethering collar or unsupervised everyday collar.
Prevent Entanglement at Home and During Play
A collar can catch on crate wire, heating vents, cabinet handles, fencing, branches or another dog's teeth. Serious injury can occur when the collar twists under tension.
Assess the dog's environment and activity:
- Remove collars or use an appropriate safety system when a secure crate manufacturer advises collar-free use.
- Avoid leaving a martingale, head halter or harness on an unsupervised dog.
- Supervise social play when dogs are wearing collars.
- Store leashes where they cannot become caught or chewed.
- Check fences, gates and furniture for hooks or narrow gaps.
- Never tether a dog by an unattended collar.
Removing a collar also removes visible identification, so the decision depends on a secure environment, local law and the dog's escape risk. Maintain an up-to-date registered microchip and use a collar and identification when required.
Keep Tags and Accessories Light
Identification should be readable, current and appropriate to local requirements. Check the owner's contact details after a move or phone-number change.
Heavy trackers, multiple tags, lights and decorative attachments can pull the collar out of position, strike the dog's chest or interfere with a breakaway buckle. Choose the lightest practical setup and verify that accessories:
- Cannot block the buckle.
- Do not create a sharp edge.
- Do not hang low enough to enter the mouth.
- Do not prevent the collar from lying flat.
- Remain secure after running and shaking.
A microchip and collar tag serve different purposes. A chip cannot be seen without a scanner, while a tag may be read immediately. Keep microchip registration details current.
Clean and Replace the Collar
Dirt, moisture and salt can stiffen fabric and irritate skin. Follow the care label, rinse away cleaning residue and dry the collar completely before putting it back on the dog.
Replace the collar when:
- Webbing is cut, stretched, stiff or deeply frayed.
- Leather is cracked or hardened.
- Stitching separates.
- A buckle opens unpredictably.
- A ring bends, corrodes or loosens.
- The adjustment slider no longer holds.
- Odor or contamination remains after cleaning.
- The collar no longer fits within its intended range.
Do not wait for complete failure. A collar is safety equipment, and damaged hardware should not be used for a walk.
A 30-Second Daily Collar Check
Before leaving home:
1. Confirm that two fingers fit comfortably.
2. Make sure the collar cannot slide over the head.
3. Check that the buckle is fully closed.
4. Tug the ring and adjustment slider gently.
5. Confirm that tags are secure and readable.
6. Look under the strap for redness or trapped hair.
7. Watch the first steps for coughing, scratching or restricted movement.
8. Clip the leash to the intended ring, not a tag ring or breakaway section.
Repeat the fit check after active play, swimming, grooming or any event that may shift the collar.
Key Takeaway
A safely fitted dog collar lies flat, permits comfortable breathing and movement, resists slipping over the head and does not create pressure points. The two-finger check is useful, but it must be combined with an escape check, skin inspection and observation of the whole dog.
Measure first, fit calmly and recheck often. Use a harness when neck pressure is inappropriate, keep identification current and replace worn hardware before it fails.
Frequently Asked Questions
How tight should a dog collar be?
A common starting point is enough room for two fingers to fit comfortably between the collar and the dog's neck. The collar should lie flat without restricting breathing, yet it should not slide over the dog's head or allow the jaw or leg into the gap.
Where should a flat dog collar sit?
It should rest naturally and evenly around the neck without twisting, trapping hair or pressing hardware into one spot. Confirm that the dog can turn the head, swallow, eat and breathe normally in every position.
How often should I check a puppy's collar fit?
Check every few days during rapid growth and before outings when the collar is close to the end of its adjustment range. Recheck after grooming, weight change, washing or any change in coat thickness.
Is a collar or harness better for walking?
A collar is useful for identification, while a well-fitted harness can reduce pressure on the neck and throat. Dogs that pull, have neck or tracheal problems, are small or brachycephalic, or have unusual anatomy should be assessed for an appropriate harness by a veterinarian or qualified professional.
Should a dog wear a collar in a crate or during unsupervised play?
Collars can catch on crate wire, furniture or another dog's jaw. Assess the environment, crate guidance, local identification requirements and escape risk; remove snag-prone equipment in a secure setting when appropriate and supervise dogs playing while collared.
Sources and References
- VCA Animal Hospitals - Collar and Harness Options for Dogs
- VCA Animal Hospitals - Puppy Collar vs Harness
- RSPCA - Getting Ready for Your Rescue Dog
- RSPCA - Why Prong Collars Are Harmful to Dogs
- American Veterinary Society of Animal Behavior - Humane Dog Training Position Statement
- American Animal Hospital Association - Harnesses Versus Collars
- American Kennel Club - Finding and Choosing the Right Dog Collar
About this article
The ShineePets Editorial Team publishes practical, evidence-informed guidance for responsible pet care and safer everyday routines.
ShineePets is a commercial B2B pet-supply sourcing brand. Read our editorial standards and commercial disclosure.