Product Sourcing
Building a Private Label Pet Grooming Kit
Quick answer
A brand-owner framework for defining a private label pet grooming kit, selecting compatible tools, testing samples and controlling packaging.
By ShineePets Editorial Team · Published
Discuss Your Sourcing Brief With ShineePets
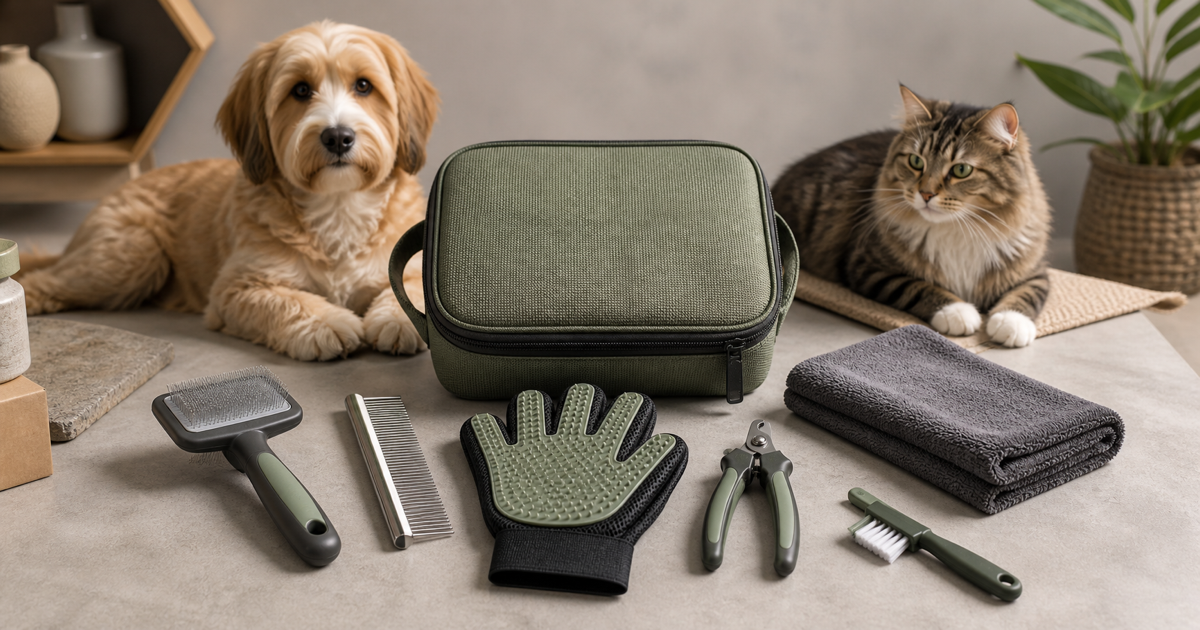
Planning a pet-product range, private-label project, or supplier brief? Share your target market, product category, MOQ expectations, and timeline with the ShineePets B2B team. Our WhatsApp Business channel is monitored 24/7. Explore our OEM/ODM capabilities, dog product sourcing, and cat product sourcing.A private label pet grooming kit should be designed as one useful system, not assembled from whichever brushes, clippers and pouches happen to share a color. Start with a defined user, pet type and grooming routine; give every component a job; then control fit, materials, workmanship, cleaning, packaging and claims at kit level. A strong first range is usually compact: a coat-care tool, a finishing comb, a correctly sized nail tool, a washable textile and organized storage. Add specialist tools only when the target coat or use case justifies them.
This guide covers kit architecture, supplier briefing, sample tests and launch controls for non-medicated grooming tools. Liquids, powered clippers and therapeutic claims need separate review.
Working principle: approve the kit as a complete SKU, while keeping a specification, test result and traceable component code for every item inside it.
Define the Grooming Job Before Choosing Components
“For dogs and cats” is too broad for a useful product brief. A short-coated dog, a long-coated cat and a dense double coat do not need the same tool combination. Begin with one primary user and routine, such as:
- first-time dog owners completing weekly coat and paw maintenance;
- long-coat owners who need detangling and finishing tools;
- short-coat households managing loose hair and surface debris; or
- travel users who need a compact maintenance kit between full grooming sessions.
State what the kit will not do. A home-maintenance kit should not imply that an inexperienced owner can remove severe mats, treat skin disease or replace professional grooming. This boundary determines the components, instructions and responsible marketing language.
For coat-tool selection, use function and coat structure rather than breed imagery alone. Our guide to pet brush types and suitable coats can help translate coat needs into a clearer assortment brief.
Build a Private Label Pet Grooming Kit by Function
Use a component map before requesting quotations. Each item needs a distinct role; duplication adds cost and makes the kit harder to explain.
| Function | Possible component | Approval question |
|---|---|---|
| Loose-hair removal | Grooming glove, rubber brush or coat-appropriate brush | Does it match the target coat without excessive drag? |
| Detangling and finishing | Rounded-tip metal comb | Are spacing, tooth finish and edge quality consistent? |
| Routine brushing | Slicker, pin or bristle brush | Are pin style, pad firmness and working area appropriate? |
| Nail maintenance | Species- and size-appropriate clipper plus file | Is the cutting action controlled, aligned and clearly instructed? |
| Drying and cleanup | Washable microfiber towel and small tool-cleaning brush | Do care instructions match the textile and tool materials? |
| Storage | Structured pouch with internal separation | Can damp and sharp-edged items be stored responsibly after drying? |
Avoid a universal claim if the tools only suit a narrower coat or body-size range. A better product family may use one shared pouch and towel with two tool modules—for example, a short-coat version and a long-coat version. This preserves a recognizable range while improving product fit.
Write a Component-Level Specification
A visual reference sample is not a specification. For every component, record dimensions, weight tolerance, materials, finish, color standard, construction, expected cleaning method, marking position and packaging orientation.
Brushes and combs
Specify the working area, tooth or pin geometry, tip condition, spacing, pad firmness, handle construction and any removable features. Ask the supplier to identify the grade or material specification behind a broad phrase such as “stainless steel.” The test plan should reflect actual exposure to moisture, cleaning and storage rather than relying on the material name alone.
Nail tools
Define the intended animal-size range, cutting geometry, handle travel, lock behavior, spring retention and edge protection in storage. Instructions should explain cautious incremental use and advise owners to stop if they cannot identify a safe cutting point. Do not position a nail tool as suitable for every pet merely because it fits inside the pouch.
Handles, gloves and textiles
Record the polymer, elastomer, fabric composition, seam construction, coating and color requirements. Evaluate grip when dry and slightly damp. Check for flashing, rough edges, exposed staples, unstable inserts, loose threads, dye transfer and odors that differ materially from the approved sample.
Pouch and internal layout
Treat the pouch as functional packaging. Define zipper construction, seams, lining, internal loops and drying instructions. Users should be able to return every clean, fully dried component without forcing rigid parts against fabric.
Separate Tools, Liquids and Powered Products
A tools-only kit is operationally simpler than a mixed kit containing shampoo, wipes, sprays or powered clippers. Liquids introduce formulation, compatibility, fill, leakage, shelf-life and claims questions. Powered products add electrical, battery, charging and destination-market requirements.
In the United States, the FDA's Animal Grooming Aids compliance policy distinguishes products intended solely to cleanse or beautify animals from products presented for therapeutic purposes. In Great Britain, the Veterinary Medicines Directorate explains that non-medicinal veterinary product advertising can cross into medicinal presentation or function through its claims.
For a first launch, consider keeping non-medicated liquids as a separately reviewed SKU rather than placing them inside the tool kit.
Test Compatibility at Kit Level
Individual components can pass inspection while the complete kit still fails. Review at least three layers.
1. Workmanship and foreseeable-use checks
Inspect every accessible edge and tip, operate moving parts repeatedly, apply defined pull or torque checks to assembled joints, and compare corrosion or appearance after the specified cleaning-and-drying cycle. Use written methods and acceptance criteria established for the product's intended use and risk; do not rely on “feels strong.”
2. User-sequence checks
Ask evaluators to complete the intended routine using only the supplied instructions. Observe tool identification, grip, changeover, cleanup and return-to-pouch behavior. Record confusion and misuse pathways, not only whether the products functioned.
3. Kit and packaging checks
Confirm component count, position, movement, abrasion, retail presentation, barcode placement and carton protection. Check whether a heavy metal tool can damage a neighboring plastic handle or puncture the pouch during shipment. Repeat the review after a representative transport test chosen for the pack and distribution route.
The approved kit should become a controlled reference. Use the process in our pet product sample review guide, then record ownership and deviations with a sample approval sheet.
Plan Product Safety, Traceability and Instructions
Private label does not transfer every responsibility to the factory. The brand, importer and other economic operators should map their obligations for each target market before packaging is approved.
For products sold in the EU, the General Product Safety Regulation requires manufacturers within its scope to conduct an internal risk analysis, prepare technical documentation and provide product identification such as a type, batch or serial number. The UK's product safety guidance for manufacturers and importers likewise emphasizes demonstrating safety, communicating risks and supporting traceability through business and product or batch information.
The precise rules depend on the product and market, but a kit control file should normally connect:
- the finished kit SKU and batch or lot reference;
- every component code, supplier and approved revision;
- risk assessment, test methods, results and corrective actions;
- instructions, warnings and intended species or size range;
- packaging artwork, country-of-origin review and responsible-party details; and
- complaint, incident and recall procedures.
Instructions should cover tool purpose, preparation, cautious use, cleaning, complete drying, inspection and replacement. Use qualified market-specific advice when deciding mandatory language or conformity requirements.
Control Packaging and Environmental Claims
Choose packaging after the kit layout is stable. Compare shelf display, ecommerce handling, export cartons, disposal information and the risk of components shifting.
Avoid broad terms such as “eco-friendly.” The US Federal Trade Commission's Green Guides summary advises marketers to qualify environmental claims clearly and substantiate them. State exactly whether a percentage applies to the pouch, insert or outer carton, and retain supplier evidence for the approved production material.
Quote the Kit Without Hiding MOQ Risk
Request a quotation matrix rather than one blended unit price. Separate:
- tooling or mold charges;
- component MOQ and color MOQ;
- logo method and minimum run;
- pouch and printed-packaging MOQ;
- assembly, inspection and replacement-part allowance;
- sample and test costs; and
- export-carton dimensions and weight.
The kit's effective MOQ is driven by the least flexible component, not necessarily the final assembly line. A custom zipper pull or printed insert can create more inventory exposure than a standard brush. Ask which parts can use stock colors or shared packaging during a pilot.
Use a Controlled Launch Sequence
1. Approve the audience, grooming job and kit boundary.
2. Freeze component specifications and an initial bill of materials.
3. Review supplier documents and development samples.
4. Test each component and the complete packed kit.
5. Approve claims, instructions and market-specific artwork.
6. Sign the pre-production sample and inspection plan.
7. Run a controlled initial order and track returns by component.
Analyze complaints at two levels: the kit SKU and the individual component. “The kit was returned” is not actionable; “zipper jammed after first use” or “comb finish varied by lot” can guide corrective action and the next production revision.
Common Development Mistakes
- Choosing components by color before defining the grooming routine.
- Using one-size-fits-all language across incompatible coats and pet sizes.
- Treating a supplier catalog description as the product specification.
- Testing items separately but not inside the final pouch and carton.
- Adding shampoo or therapeutic wording late in artwork development.
- Approving a perfect sample without linking it to bulk inspection criteria.
- Letting marketing claims outrun the evidence retained by the brand.
A well-built private label grooming kit is easy to explain because its components, intended user and routine fit together. The commercial advantage comes from that coherence—and from the records that keep the production version consistent.
Sources and Further Reading
- Regulation (EU) 2023/988 on General Product Safety — EUR-Lex
- Product Safety Law: Advice for Manufacturers and Importers — UK Office for Product Safety and Standards
- CPG Sec. 653.100 Animal Grooming Aids — U.S. Food and Drug Administration
- Advertising Non-Medicinal Veterinary Products — UK Veterinary Medicines Directorate
- Environmental Claims: Summary of the Green Guides — U.S. Federal Trade Commission
For retailers, distributors and pet brands
Turn this insight into a sourcing plan
Browse the ShineePets B2B catalog or discuss product selection, packaging, private-label and OEM/ODM requirements.
Explore the Wholesale Catalog Discuss OEM/ODMFrequently Asked Questions
What should be in a basic private label pet grooming kit?
Start with one coat-appropriate brush, a finishing comb, a correctly sized nail tool, a washable towel and organized storage. Add tools only when they serve a defined grooming job.
Should one grooming kit be marketed for both dogs and cats?
Only when every included component and instruction suits the stated coat types, sizes and routines. Separate variants are clearer when tool geometry or use differs materially.
Can shampoo be packed with grooming tools?
It can, but the liquid requires separate review for formulation, stability, leakage, labeling and claims. Many first launches reduce complexity by keeping liquids as separately reviewed SKUs.
How should a brand test a pet grooming kit sample?
Inspect each component, perform written foreseeable-use and cleaning checks, run the full user sequence, then test the complete pouch and retail or export packaging.
What information should a grooming kit supplier receive?
Provide the target user, grooming routine, component specifications, materials, colors, packaging, instructions, test methods, acceptance criteria, markets, forecast and required documentation.
Sources and References
- Regulation (EU) 2023/988 on General Product Safety — EUR-Lex
- Product Safety Law: Advice for Manufacturers and Importers — UK Office for Product Safety and Standards
- CPG Sec. 653.100 Animal Grooming Aids — U.S. Food and Drug Administration
- Advertising Non-Medicinal Veterinary Products — UK Veterinary Medicines Directorate
- Environmental Claims: Summary of the Green Guides — U.S. Federal Trade Commission
About this article
ShineePets publishes practical, source-checked guidance for pet owners and pet-product professionals.
ShineePets is a commercial B2B pet-supply sourcing brand. Read our editorial standards and commercial disclosure.
Continue Reading

Private Label Pet Products: A Retailer's Starting Guide
A retailer-first roadmap for choosing a private-label pet category, qualifying suppliers, testing samples, planning compliance and launching with controlled risk.
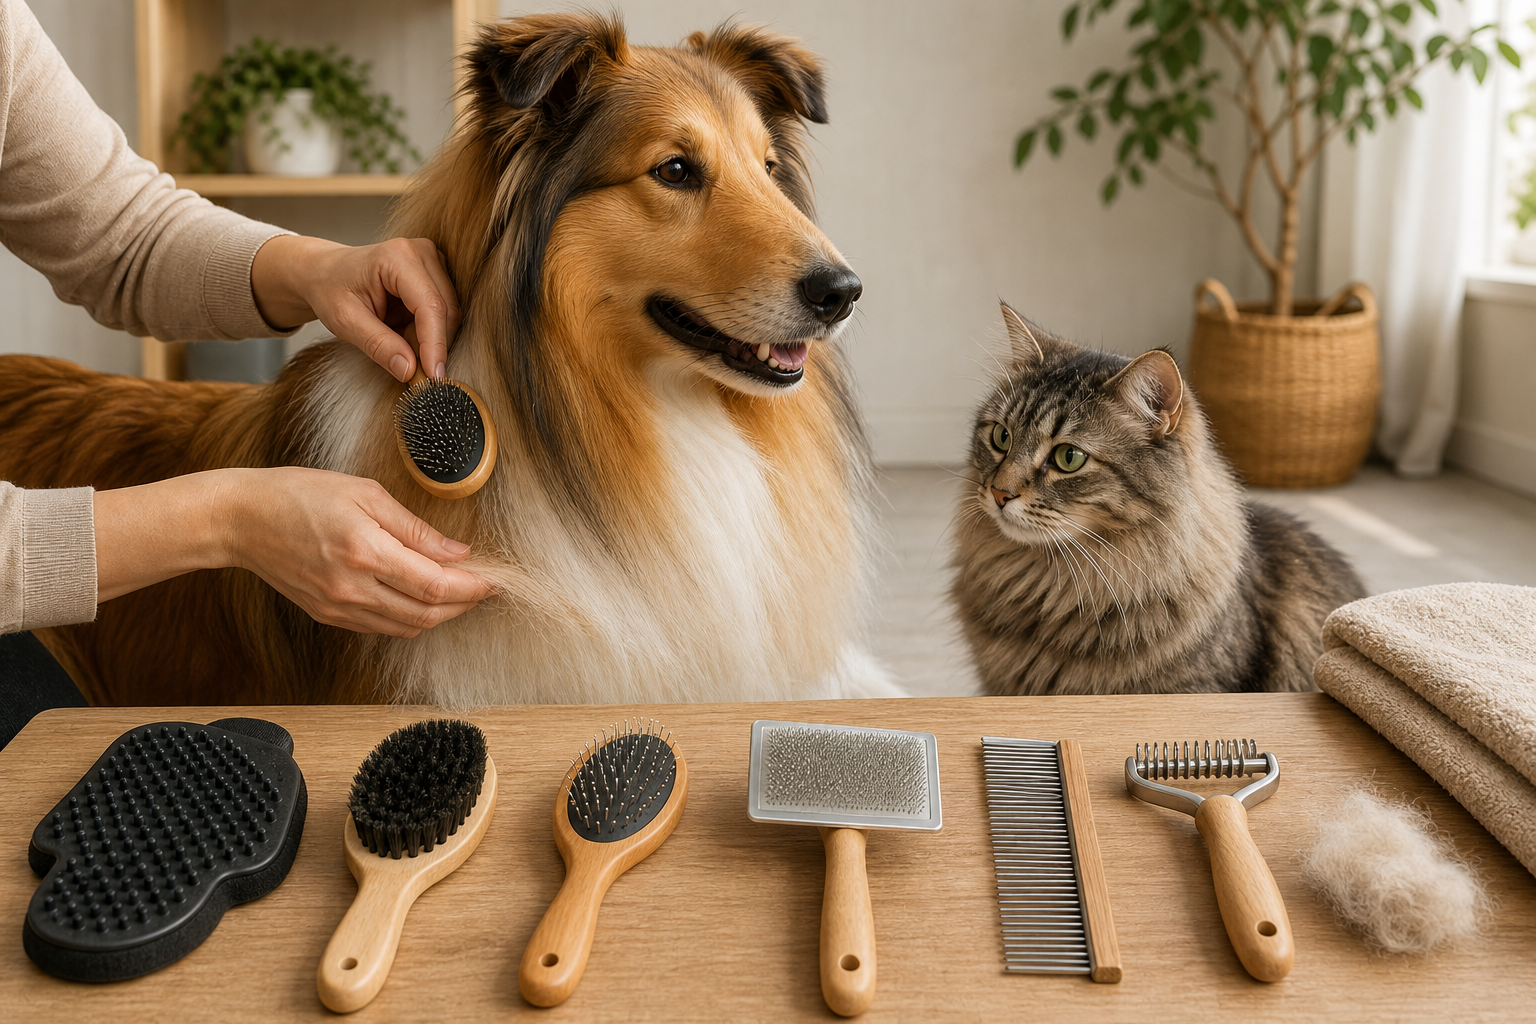
Pet Brush Types and the Coats They Suit Best
Match rubber, bristle, pin, slicker, comb and undercoat tools to short, long, curly, silky, double and delicate pet coats.
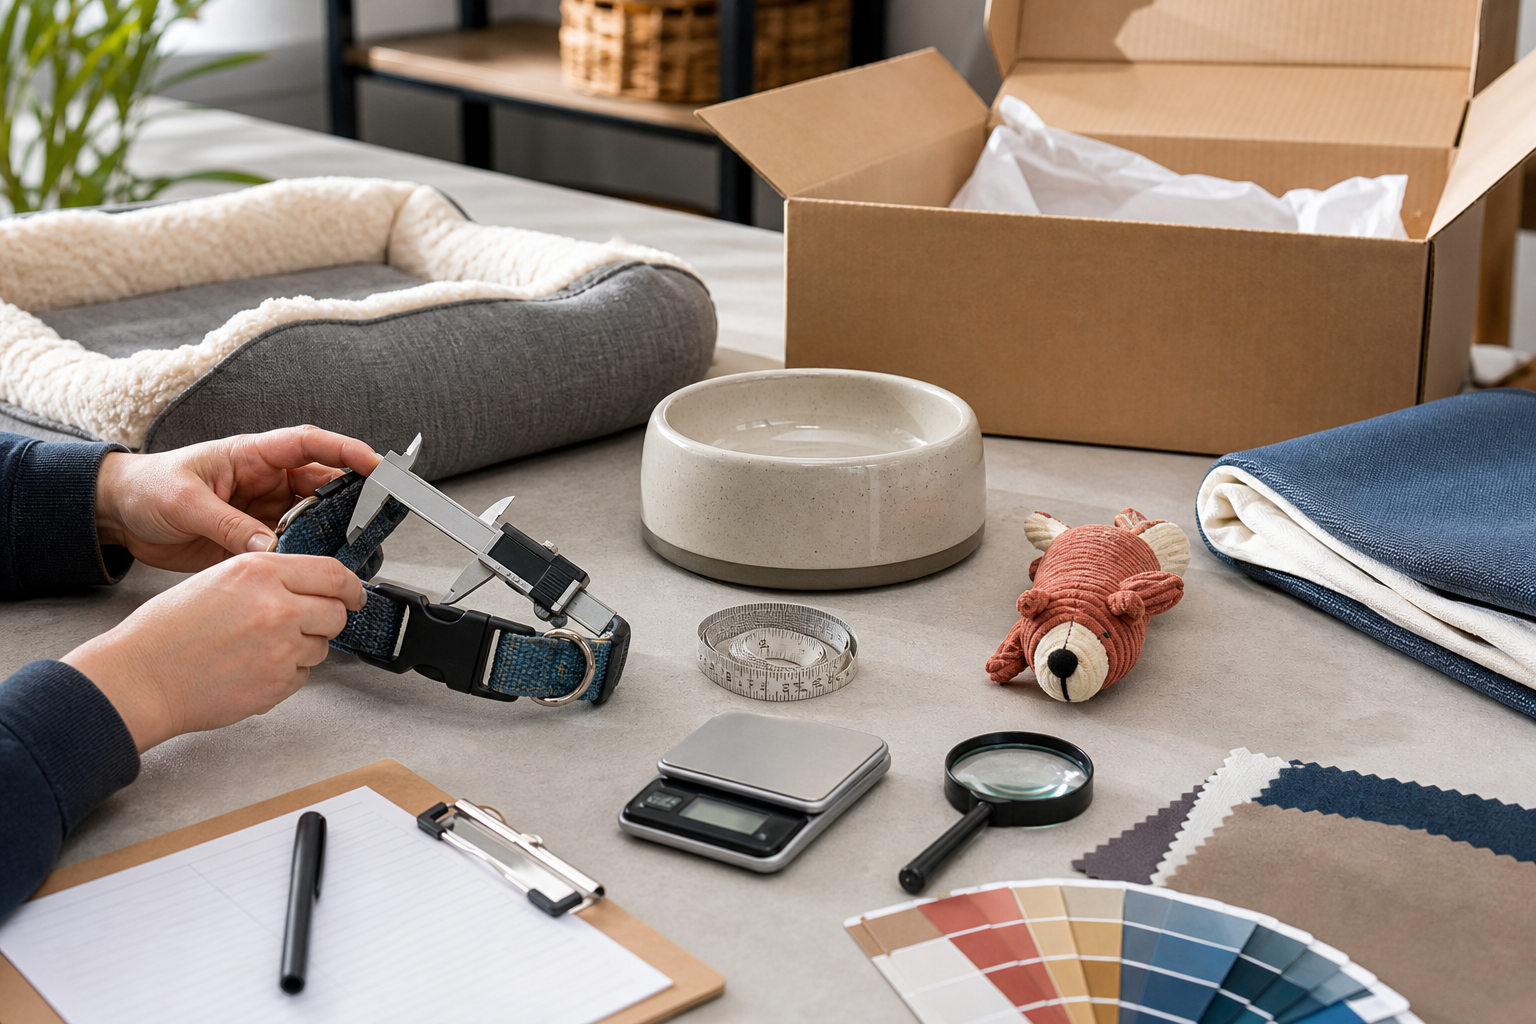
How to Review Pet Product Samples Before Bulk Orders
A practical framework for checking pet product samples, documenting defects, approving a golden sample and connecting approval to bulk inspection.
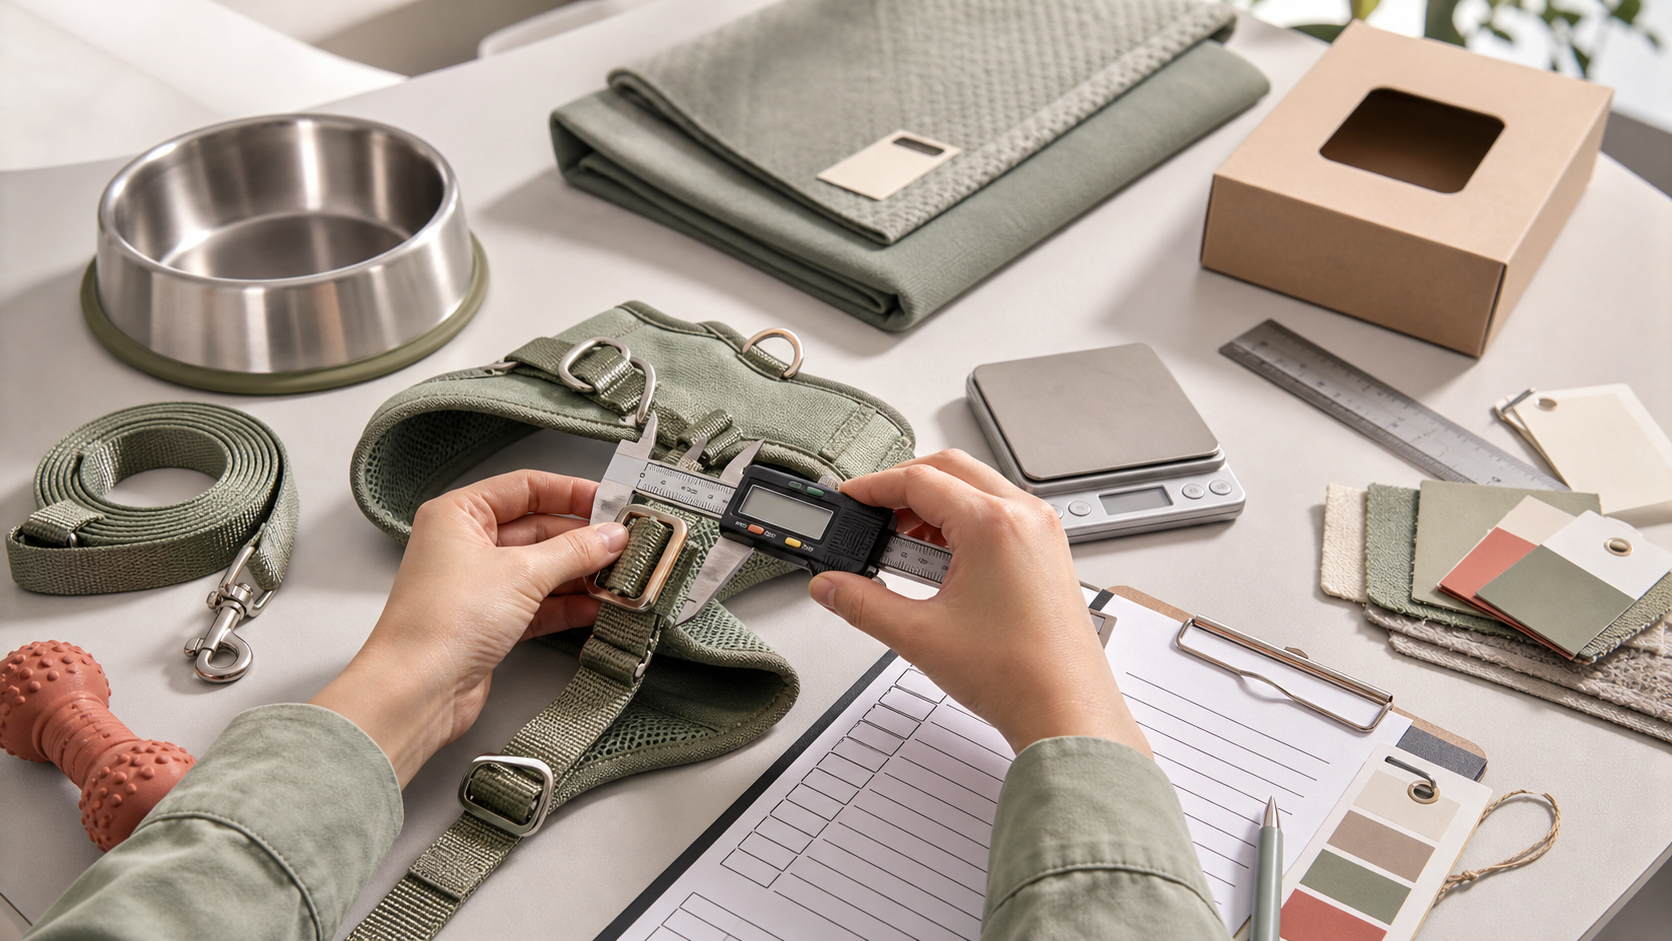
Pet Product Sample Approval Sheet: Fields, Owners and Sign-Off Rules
Build a controlled pet product sample approval sheet with clear identity, revision, evidence, ownership, deviation and sign-off fields before bulk production.